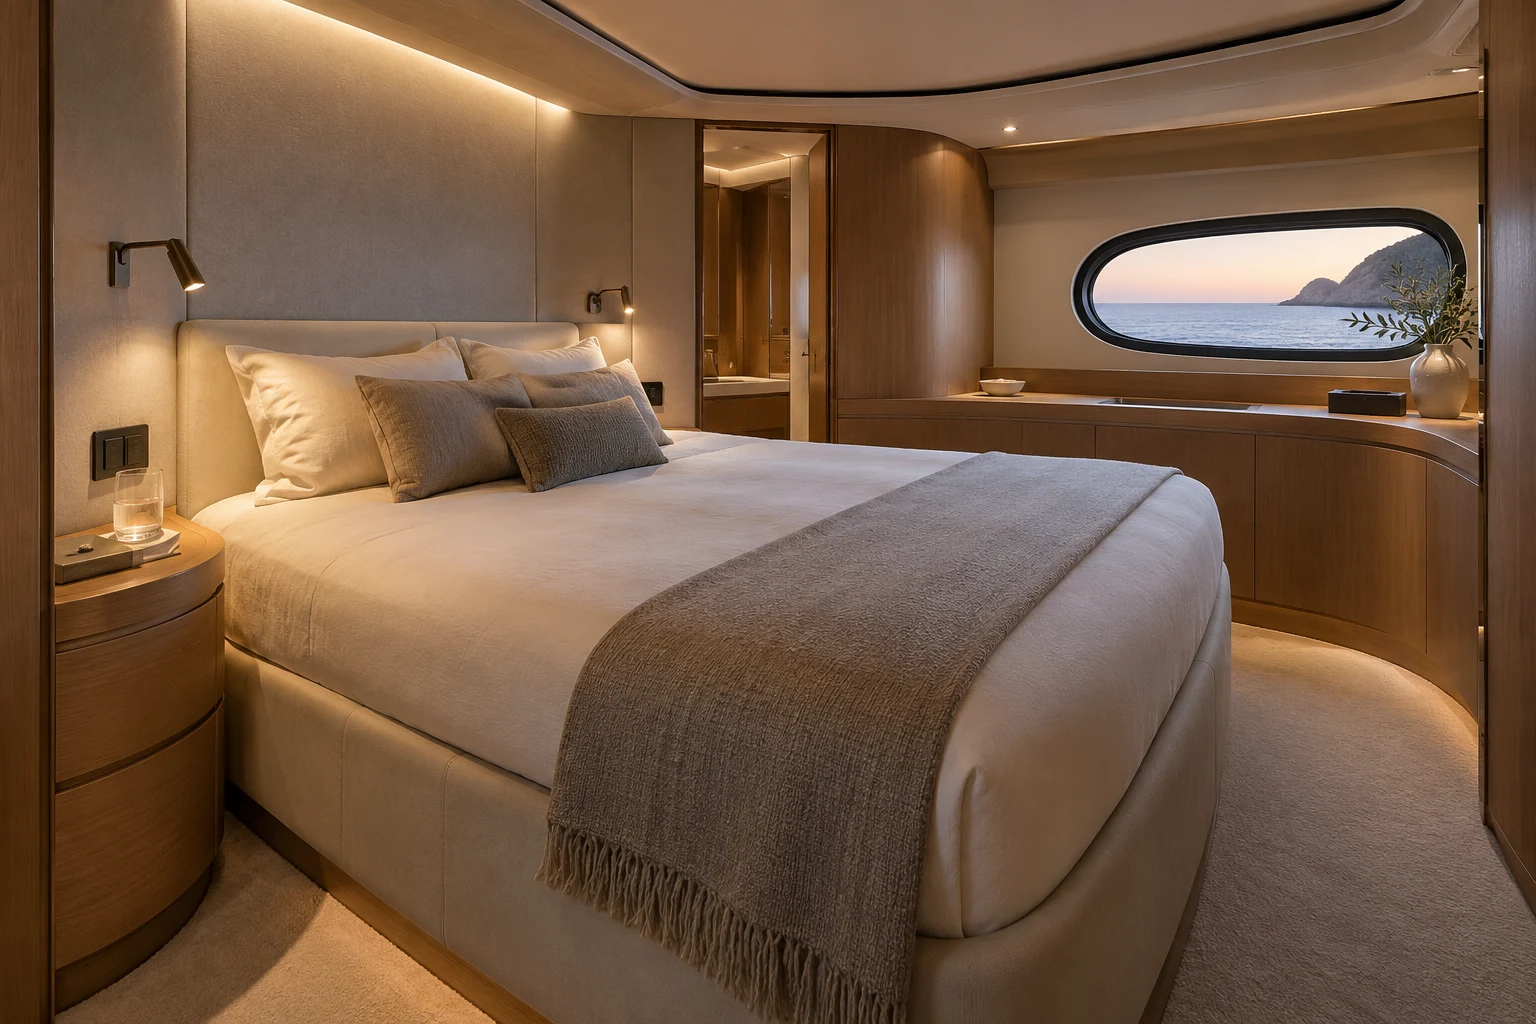
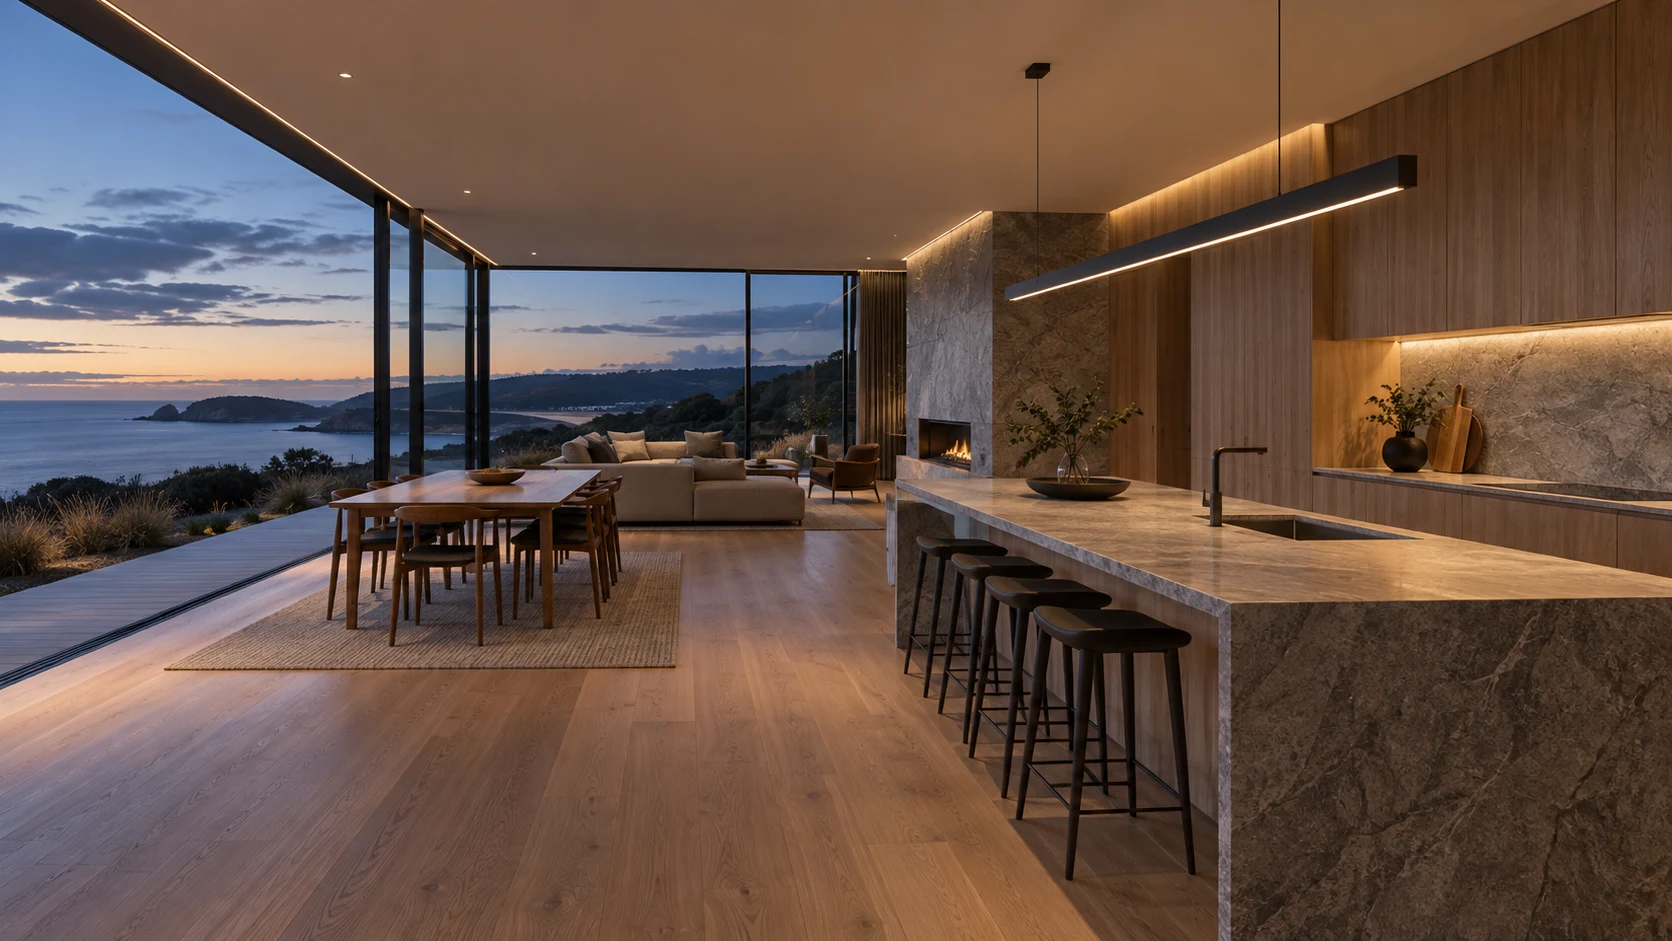
After hours
Shape paths, planting and outdoor rooms with carefully placed light.
Begin with the journey
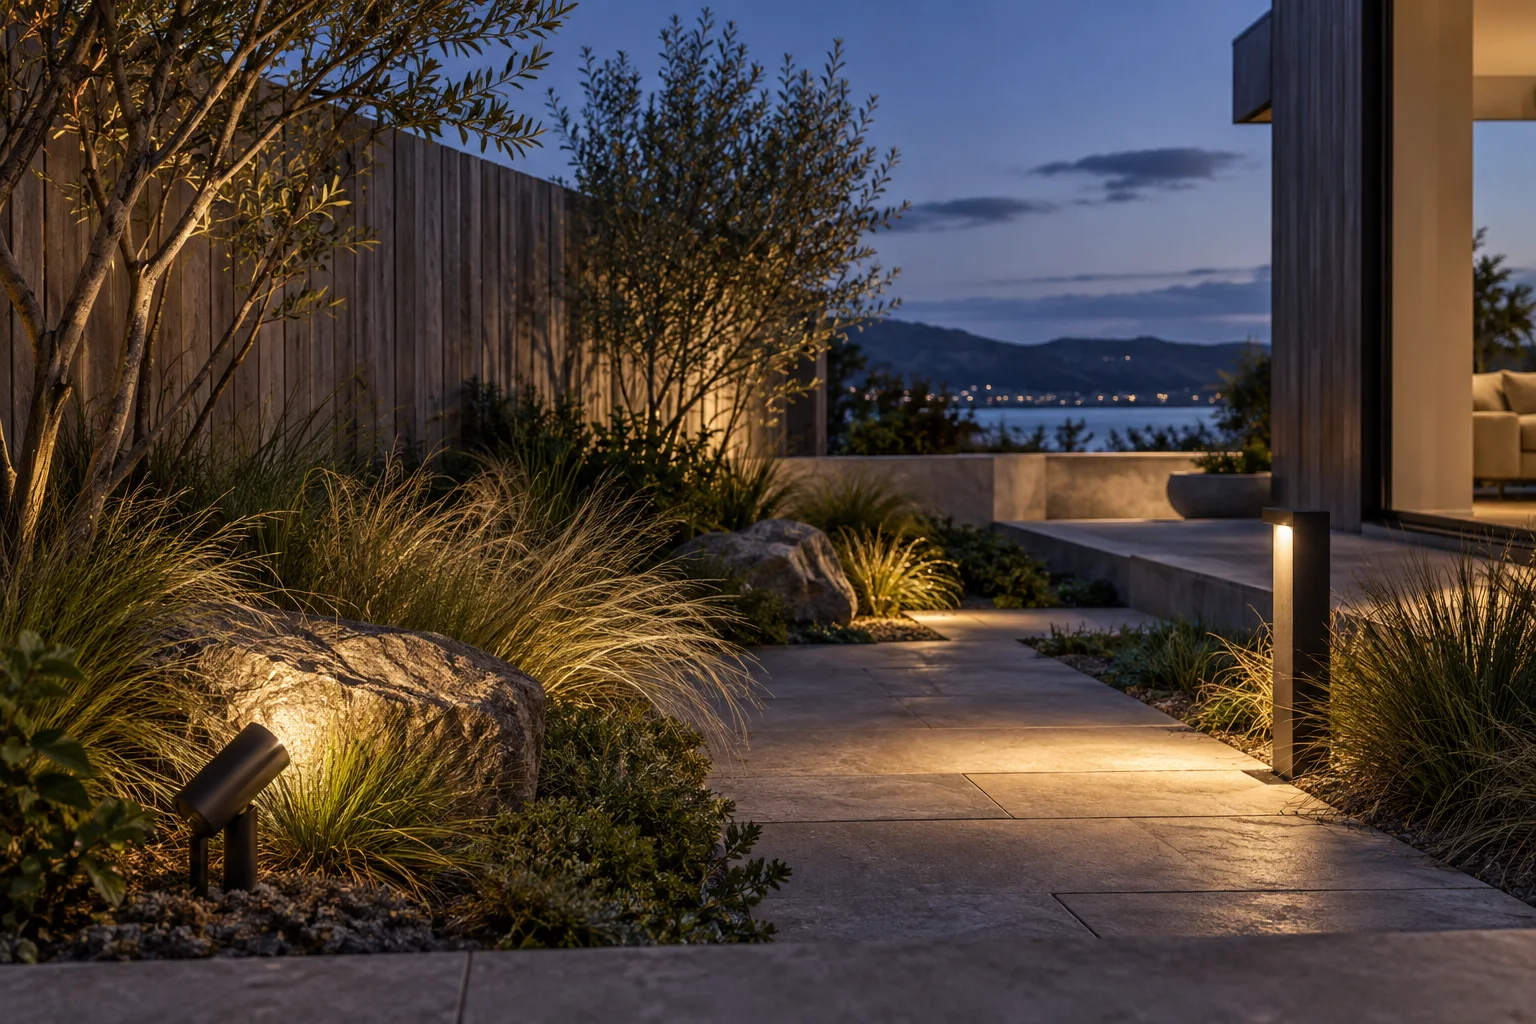
Walk the route from the entrance to the door and from the living area into the garden. Notice changes of level, turns, steps and the places where a person pauses. These are better starting points than spacing lights evenly along every edge. Think about how the route reads when seen from inside as well as when you are walking through it.
A garden does not need to be equally bright everywhere. A small number of useful reference points can make its structure clear while leaving the planting and sky quiet. Consider neighbouring windows and boundaries from the beginning. The scene should feel welcoming to the people using it without sending unnecessary light towards somebody else.
Let light meet a surface
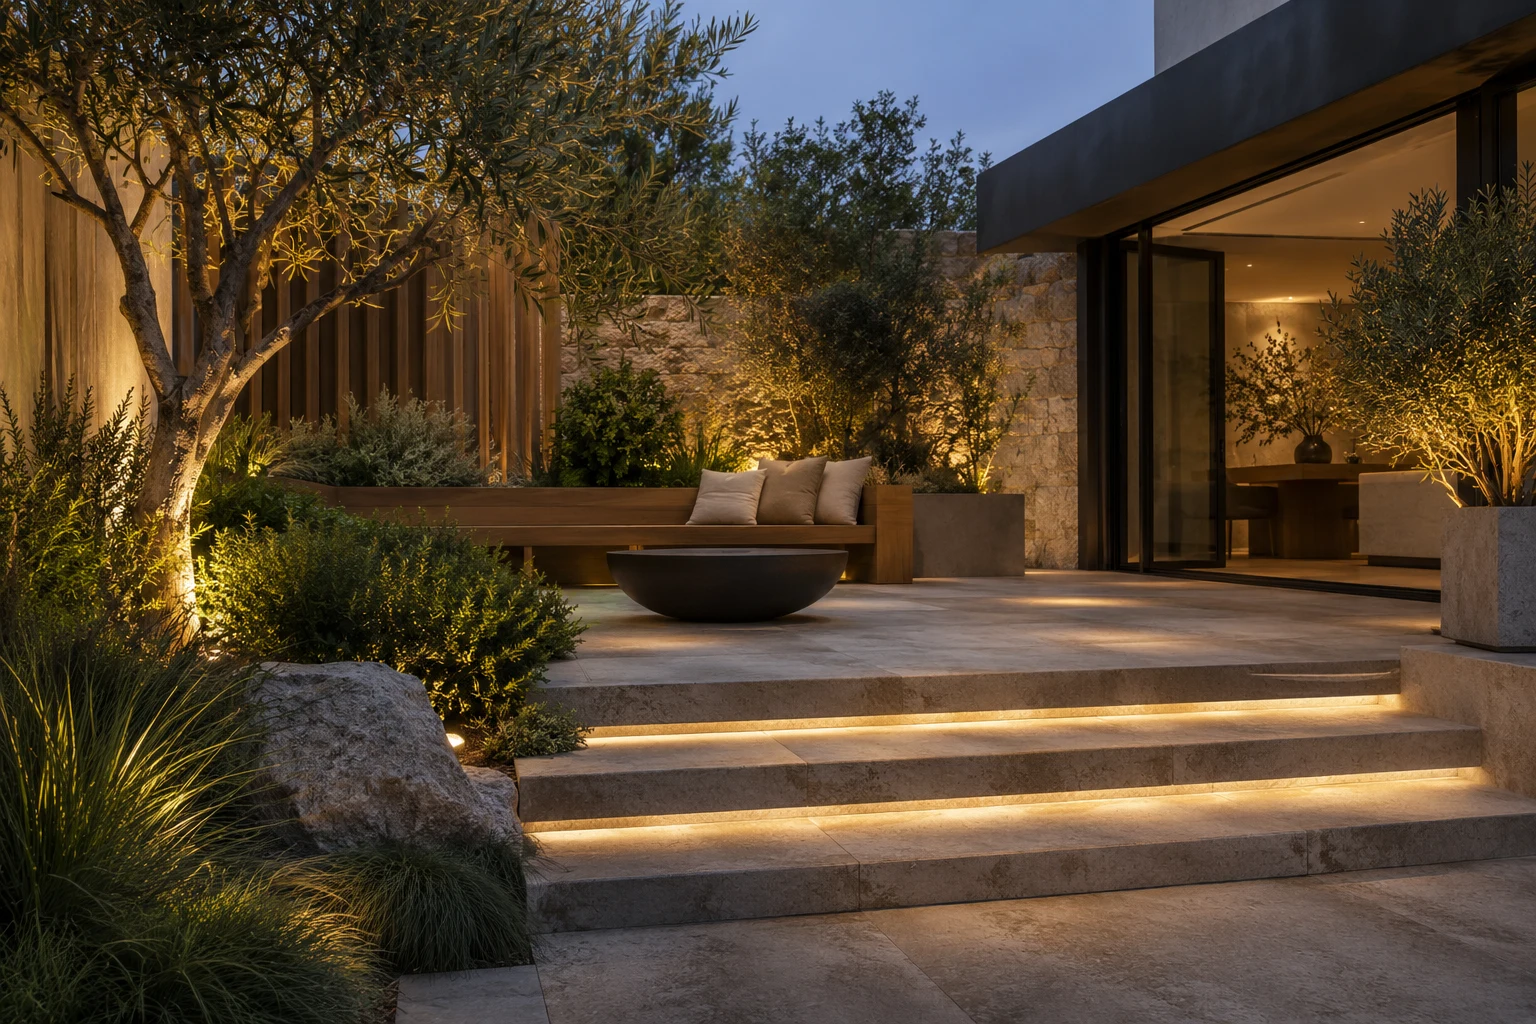
Outdoor light becomes visible through the surfaces it reaches. A wall, a path or the underside of foliage can give a fitting a clear job. Compare the material and colour of those surfaces: pale stone and dark timber will not read in the same way. Test the intended effect in the actual setting when possible.
A bollard such as Adonis can be explored for a path-led scheme. Directional options such as Leif or Solomon 4 invite a different conversation about planting, walls and individual features. These are related product choices rather than a claim that they appear in the images. Position and aiming need to be considered alongside the fitting itself.
Select for the location
Outdoor suitability involves more than a single rating. Exposure to rain, irrigation, pooled water and coastal conditions can differ across one property. Mounting position and the surrounding materials also matter. Use the exact product documentation to establish where a fitting may be installed and how it should be maintained.
The catalogue lists Adonis at IP65 and Leif and Solomon 4 at IP66. Those labels are reference specifications for the products shown below, not a universal approval for every garden location or exposure. In particular, an IP rating alone does not establish suitability for immersion or resistance to a marine environment. Ask the project team to confirm the chosen model for its intended position.
Plan the practical details early
Mark the proposed fittings on a landscape plan before paths and planting are finished. Include mounting details, routes to be coordinated and access for future maintenance. Keep the visual intention and the installation requirements together so that neither becomes an afterthought. A fitting should remain accessible as the garden grows around it.
The related products include different supply requirements, shown on their product pages. Do not treat them as interchangeable parts of one electrical system. Have the complete selection reviewed for the project. Then revisit the visual result after dark: reduce unnecessary emphasis, adjust the focal points where appropriate and check the view from neighbouring spaces. A restrained scheme should make the garden easier to use while preserving its sense of night.
Related products
Options to explore for this approach. Confirm the selected configuration for your project.


Concept visualisation. Scene images are illustrative and do not document completed projects or the installation of the products suggested here.